Using PyCharm with Git
ADVERTISEMENT
Table of Contents
- Introduction
- Getting PyCharm
- Setting up PyCharm for Git
- Adding files to the repository
- Committing changes to the repository
- Pushing your changes to GitHub from within PyCharm
- Pulling down remote changes from GitHub into your local copy of a project in Pycharm
- Summary
- Next Steps
- About the Author
Introduction
PyCharm is an IDE (Integrated Development Environment) built for Python that supports the Git version control system (VCS). Using Pycharm, you can set up your project to use Git and GitHub so it's easier to manage changes on both the local machine and remote server
In this article, we'll discuss how to get started using Git integration for a new or existing PyCharm project.
Getting PyCharm
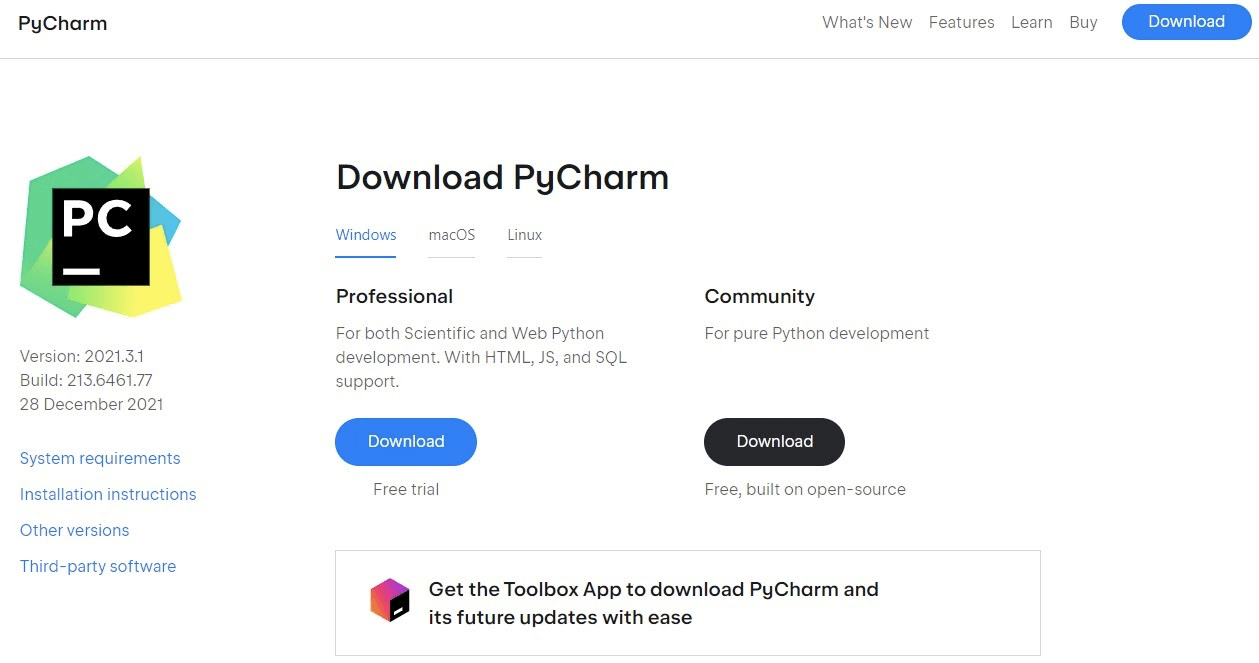
In this tutorial, we are using the PyCharm Community Edition. You can go to the download page for PyCharm Community or you can get the Toolbox App if you want to manage more than one of JetBrains' IDEs. I suggest the Toolbox App as it simplifies updates and manages the other versions of IntelliJ.
Setting up PyCharm for Git
Recent editions of JetBrains' IDE have included Git integration, so we do not need to install anything. We just need to enable the integration.
Enable Version Control Integration
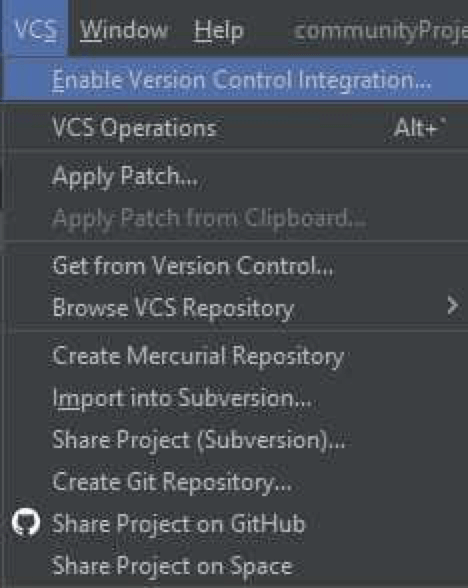
Go to the top file menu, click on VCS > Enable Version Control Integration:
A dialog will appear. Select Git > OK:

A new local git repository is automatically created. Now you can start adding files.
Adding files to the repository
If you started a default project, you will have a main.py file under that project for now. Initially, it is colored red which means it has not been added to version control:
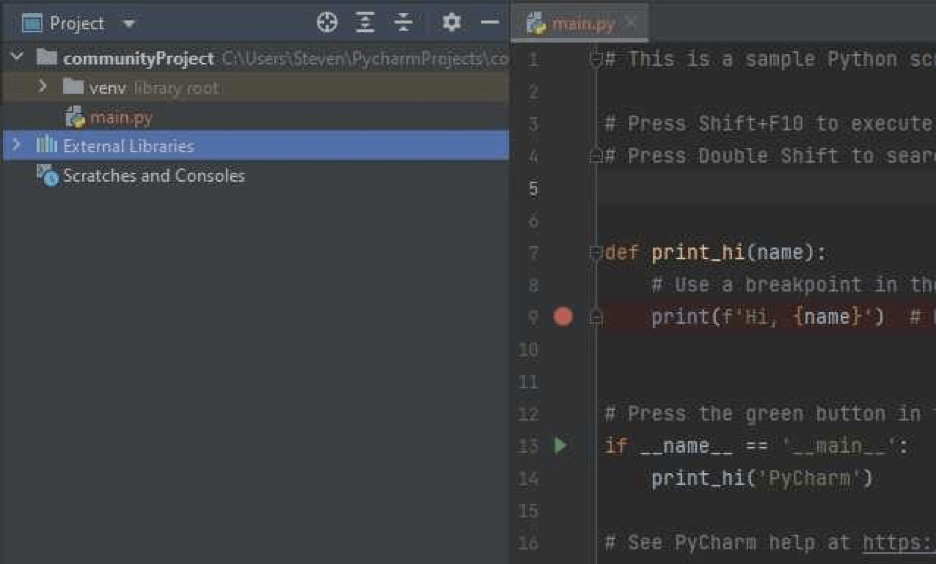
The red color means it has not been added to source control. Let's do that now.
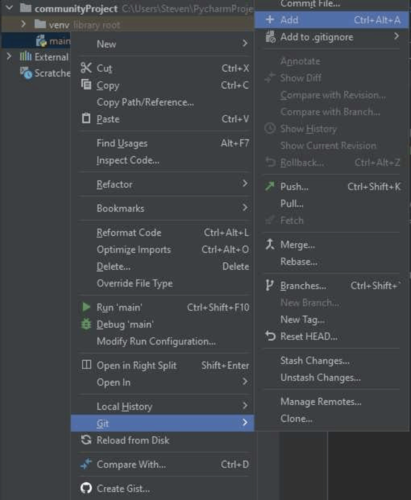
Right-click on main.py, go to Git > Add (or use the shortcut: Ctrl+Alt+A in Windows, Cmd+Alt+A on Mac):
Alternatively, you can add all files in a directory.
Right-click on the top-level directory (or the directory of your choosing) and go to Git > Add. It's the same as adding a single file.
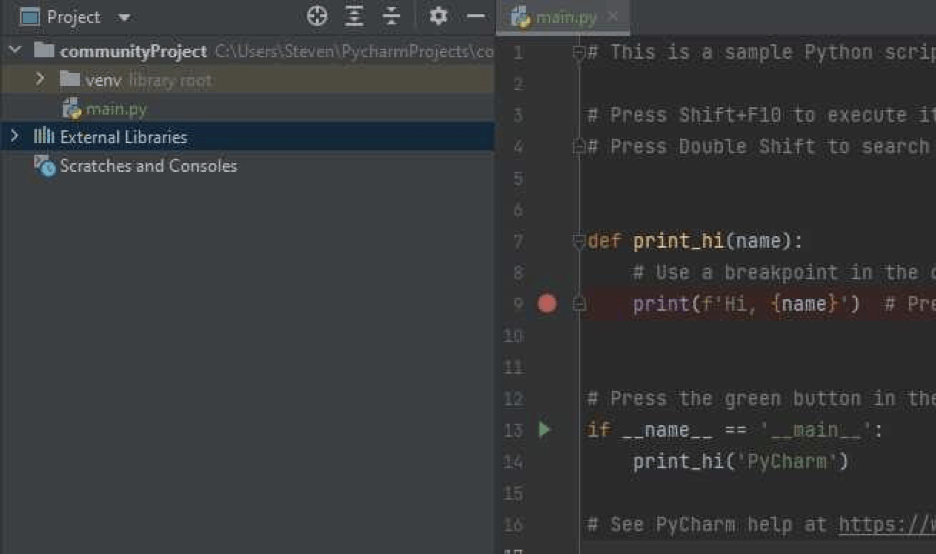
Once you have added the file or directory, you will see the file names changed from red to green:
Committing changes to the repository
Now that we have our project set up with Git, we can start making changes to our files and committing them to the repository. To do this, we'll use the Commit Changes dialog.
To open the Commit Changes dialog, go to VCS > Git > Commit... or press Ctrl+K (Cmd+K on Mac).
This will open the Commit Changes Dialog, which is split into two panes. The top pane shows a list of files changed since the last commit and their status (unchanged, modified, or staged for committing), while the bottom pane is where you can set the commit message.
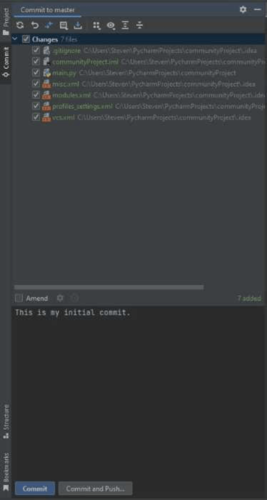
If you select the gear in between the two panes you will see it has several options used to configure how your next commit should work. For example, choose which files you want to include in your next commit and whether or not you would like PyCharm to add new filenames as untracked (i.e., ignored) by default when using Git commands in the future. Using these options we can make a range of commits with different changes included each time:
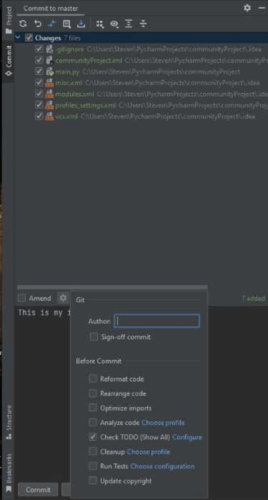
Once you have your settings the way you want them and the commit message as descriptive as you need then you commit. To commit your changes, simply click the Commit button in the bottom right corner. If the commit is successful, you will set a green message connected to the Git tab located at the bottom of the screen:

Once your changes are committed to the repository their color in the project dialog will change to the standard color you have set up in the IDE (I have dark mode enabled, so it's white for me).
When you start editing an already committed file, the file will turn green again, meaning there are changes in it that need committing.
Pushing your changes to GitHub from within PyCharm
In order to push your changes to GitHub from PyCharm, we need to add the GitHub server as a remote to your local copy of a project.
You can do this by going to:
Git > GitHub > Share Project on GitHub
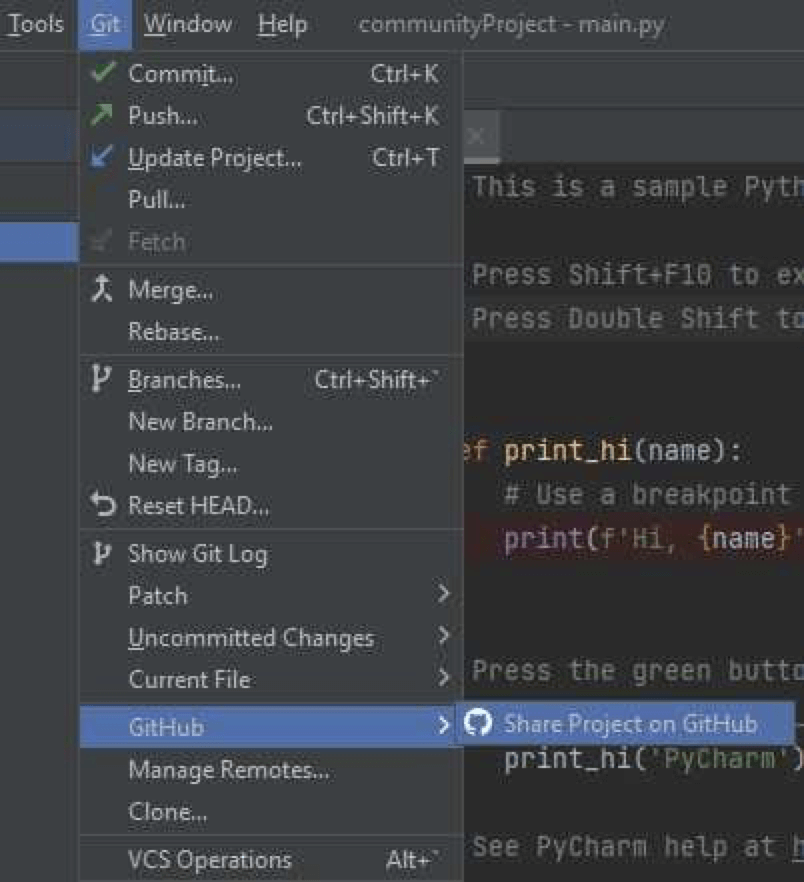
This will popup a dialog titled "Share Project on GitHub":
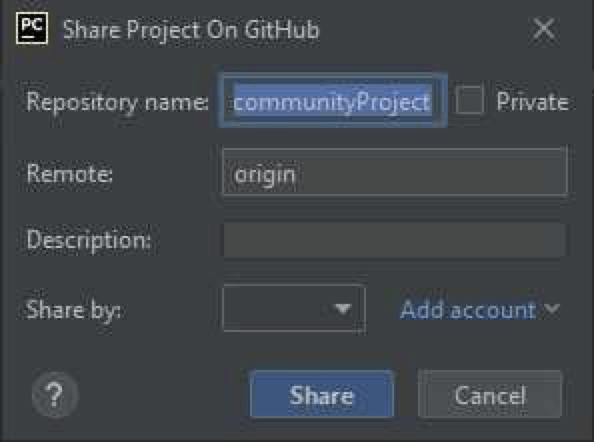
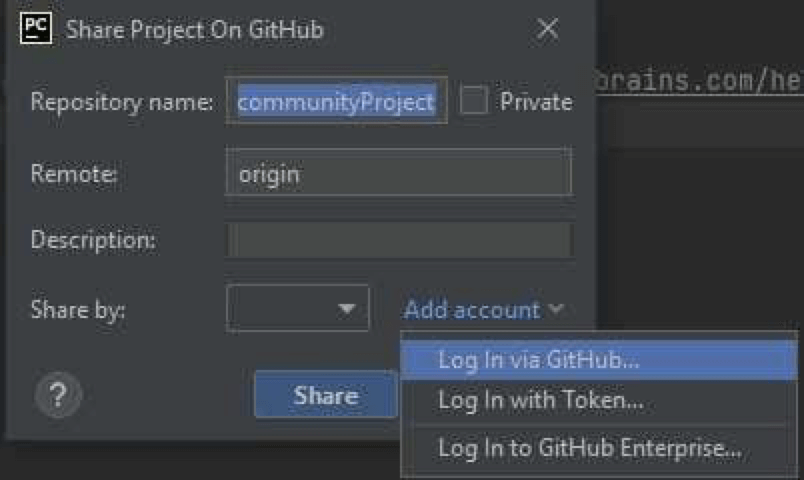
If you have not added your GitHub account details to PyCharm yet click on Add Account. Then select the method you want to use to log in to GitHub. Either selection is valid, but the token route allows you a little more control over what access is granted to the IDE and you can terminate access without changing your password:
When you are done connecting, you will see your username in Share by dropdown:
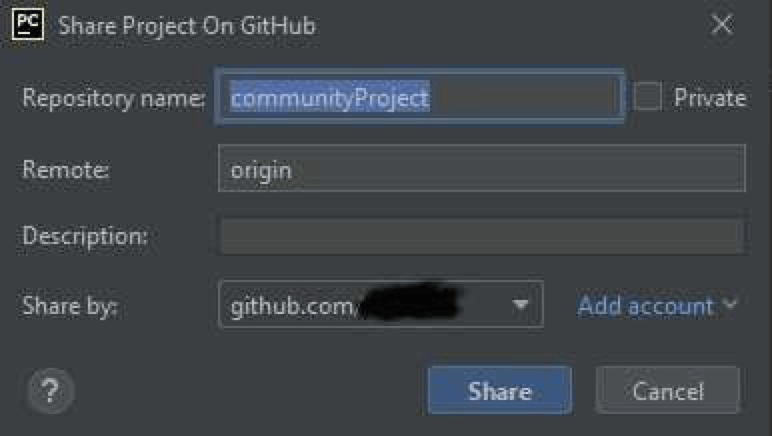
Now all you need to do is simply click on Share.
Once that is done, you can navigate to your repositories on GitHub and see the new repo:

Now your repository is available to anyone who has access to the repository. You can also see a history of all the changes that have been made to the project by looking at the GitHub repository.
Pulling down remote changes from GitHub into your local copy of a project in Pycharm
In order to pull changes made in GitHub, say from another developer merging a branch or someone editing a file directly, and you have already made sure the remote has been set up, then you can simply press a button in PyCharm to do so.
Go to the menu: Git > Pull
A dialog will appear with "Pull to Master" as the title:

Click the "Pull" button.
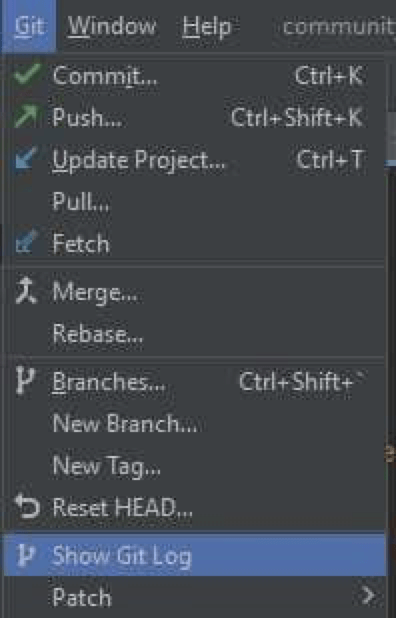
PyCharm will then pull down all of the changes from that repository into your local project. If you have any conflicts, it will tell you and allow you to merge them manually. You can also view a log of the changes that were pulled down by going to Git > Show Git Log:
Summary
Wrapping up, in this post we looked at how to use PyCharm with Git. We covered the basics of committing and pushing changes, as well as pulling down remote changes from GitHub into your local project.
Next Steps
If you're interested in learning more about how Git works under the hood, check out our Baby Git Guidebook for Developers, which dives into Git's code in an accessible way. We wrote it for curious developers to learn how Git works at the code level. To do this we documented the first version of Git's code and discuss it in detail.
We hope you enjoyed this post! Feel free to shoot me an email at jacob@initialcommit.io with any questions or comments.
About the Author
Steven Lohrenz is a 25+ year IT professional where they have been a programmer, software engineer, technical team lead, and software and integrations architect. They blog at StevenLohrenz.com about things that interest them. You can find their recommendations for laptops for programmers there also.
Final Notes
Recommended product: Decoding Git Guidebook for Developers
