Continuous Deployment of AWS S3 Static Site
ADVERTISEMENT
Table of Contents
Introduction
AWS S3 is a cheap and easy way to host static content. It is often used to host images, documents, videos, and user-generated content. However, one of the best features of S3 is its ability to host full static websites, such as those generated by Vue, Angular, and React projects. However, the process of entering the S3 console and manually uploading these files whenever they change can slow down development significantly.
Continuous deployment (CD) is a modern software practice that revolves around a single principle: instead of pushing several changes to an application at once on a release cycle, changes should be deployed as soon as they are functional. Tools like GitHub Actions, Bitbucket Pipelines, Travis CI, and Jenkins enable developers to set up CD by automatically building and deploying your application based on predefined conditions or triggers, such as pushing to a particular Git branch.
In this article, we explore three options for continually deploying content to S3: Git server hooks, GitHub Actions, and Bitbucket Pipelines.
Option 1: Git Hooks
If you do not already have a Git repository set up, create a new folder and run git init inside of it. When you do this, Git generates several example example hooks in the directory .git/hooks. You can look through these for ideas of how to set up hooks for various purposes, including commit message templating, pre-commit linting (analyzing code for likely errors or improper formatting), and disabling Git’s garbage collection.
Hook files in Git can be any executable file starting with a shebang (e.g. #!/bin/sh). This means that you can use Bash, PHP, Python, or even Node.js to process the hook, as long as the server has the appropriate interpreter installed. Some hooks, like pre-commit and post-merge, run on the client and are useful for running tests, linting, and editing files before committing. On the other hand, pre-receive, update, and post-receive run on the server whenever a change is received and are best suited for enforcing organization-level policies. (Server-side hooks do not run on repositories owned by GitHub and Bitbucket; for those platforms, see the next two sections).
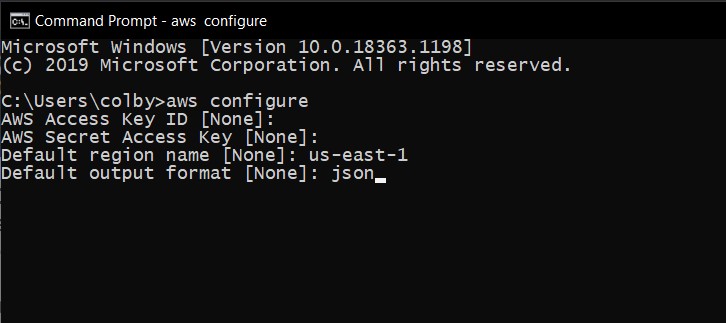
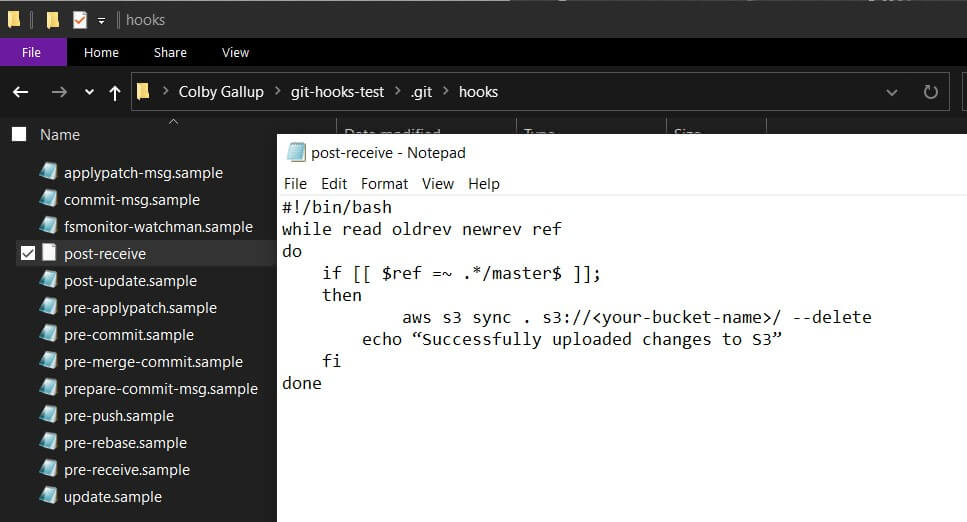
Here is an example of a post-receive hook (.git/hooks/post-receive) that uses Bash to synchronize files from the root of a repository to an S3 bucket using the AWS CLI. Before using this, read our our guide for uploading to S3 using the AWS CLI to set up the AWS CLI on your Git server.
#!/bin/bash
while read oldrev newrev ref  # read modified references from standard input
do
	if [[ $ref =~ .*/master$ ]];  # if we push to master...
	then
		aws s3 sync . s3://<your-bucket-name>/ --delete  # ...synchronize our changes…
		echo "Successfully uploaded changes to S3"  # ...and notify the user
	fi
done

Option 2: GitHub Actions
GitHub Actions is a valuable tool for continuous integration and continuous deployment. It allows developers to create CD pipelines by writing YAML files and provides access to a plethora of community-built packages. GitHub Actions workflows can be used to automatically act upon pushes, merges, pull requests, issues, and more.
To create a new workflow, create the directory .github/workflows in the root of your Git repository and place a new YAML file in it (e.g. aws-cd.yml). Add the following contents:
name: AWS-CD

on:
  push:
    branches:
      - master
jobs:
  build:
    runs-on: ubuntu-latest
      steps:
        - uses: actions/checkout@v1
        - name: Install Node packages
          run: npm install
        - name: Build the project
          run: npm run build
        - name: Deploy to S3
          run: AWS_ACCESS_KEY_ID=${{ secrets.AWS_ACCESS_KEY_ID }} AWS_SECRET_ACCESS_KEY=${{ secrets.AWS_SECRET_ACCESS_KEY }} aws s3 sync dist s3://${{ secrets.S3_BUCKET_NAME }}/
Here is a breakdown of this file:
on:
  push:
    branches:
      - master
This tells GitHub that our CD workflow should run whenever we push to the master branch. You can change the branch name if you prefer to deploy a different branch.
jobs:
  build:
    runs-on: ubuntu-latest
      steps:
        - uses: actions/checkout@v1
This sets up a list of jobs that will run sequentially on an Ubuntu instance. The first job is actions/checkout@v1, a package provided by GitHub that clones your repository and checks out the current branch (in this case, master).
        - name: Install Node packages
          run: npm install
        - name: Build the project
          run: npm run build
In a GitHub Actions workflow, each task has a name field, which is displayed on GitHub, and a run field, which contains a Bash command to run. These steps install a Node project and run the build task. You can modify these steps to suit your project (e.g. ng build for an Angular project), or omit them entirely for a plain HTML/CSS/JS website.
        - name: Deploy to S3
          run: AWS_ACCESS_KEY_ID=${{ secrets.AWS_ACCESS_KEY_ID }} AWS_SECRET_ACCESS_KEY=${{ secrets.AWS_SECRET_ACCESS_KEY }} aws s3 sync dist s3://${{ secrets.S3_BUCKET_NAME }}/
This step sets up the environment variables needed for the AWS CLI to run and then synchronizes everything from the /dist folder to our S3 bucket. You can change the folder name (e.g. . for a plain HTML/CSS/JS website) here to suit your project.
GitHub Actions workflow files are publicly visible, so storing your AWS access keys in the workflow file itself is highly insecure. Instead, this example stores them into your repository secrets. You can add secrets to your GitHub repository by going to your repository’s page, entering the Settings tab, then selecting Secrets on the left side. Then, create two new secrets, AWS_ACCESS_KEY_ID and AWS_SECRET_ACCESS_KEY, containing the appropriate information.
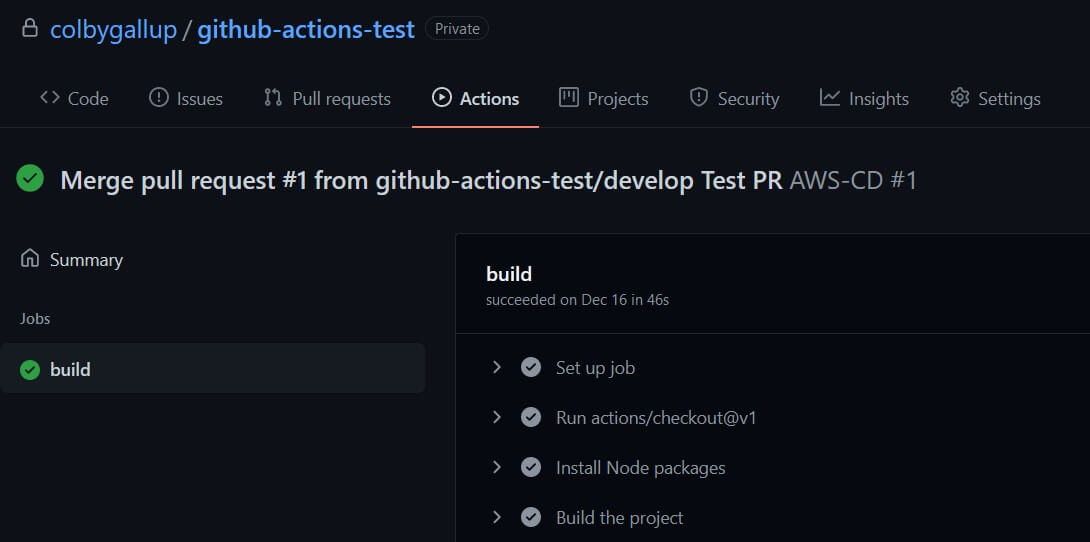
After setting this up, you can push content to the master branch of your repository to see it in action. GitHub will display an Actions tab at the top of your repository page that shows the status of your previous workflow runs, including diagnostic information for debugging failed runs.
Option 3: Bitbucket Pipelines
Bitbucket Pipelines is a similar product to GitHub Actions. It allows you to build CI/CD pipelines using a rich library of tools created by Atlassian and the community. Your pipelines run on a fresh Docker instance using an image of your choosing whenever changes are made to a branch.
To create a new pipeline, go to your repository’s page, then click Pipelines on the left-hand side. On the pipelines page, select Starter pipeline and replace the template content with the following:
image: node:10.15.3

pipelines:
  branches:
    master:
      - step:
          name: Build
          caches:
            - node
          script:
            - npm install
            - npm run build
          artifacts:
            - build/**
      - step:
          name: Deploy to S3
          deployment: Production
          clone:
            enabled: false
          script:
            - pipe: atlassian/aws-s3-deploy:0.4.4
              variables:
                AWS_ACCESS_KEY_ID: $AWS_ACCESS_KEY_ID
                AWS_SECRET_ACCESS_KEY: $AWS_SECRET_ACCESS_KEY
                AWS_DEFAULT_REGION: $AWS_DEFAULT_REGION
                S3_BUCKET: $AWS_S3_BUCKET
                LOCAL_PATH: 'build'
Here is a breakdown of this file’s contents:
image: node:10.15.3
This line selects the Docker image to use. This example uses the node image so that you can build Node.JS projects, but you can replace this with atlassian/default-image:2 for faster boot times if you do not need Node (e.g. for plain HTML/CSS/JS projects).
pipelines:
  branches:
    master:
This specifies that your pipeline should run whenever changes are pushed or merged into the master branch. You can change this to specify another branch name if you desire.
      - step:
          name: Build
          caches:
            - node
          script:
            - npm install
            - npm run build
          artifacts:
            - build/**
Steps in Bitbucket pipelines each have a display name and a list of script commands to run. These commands setup and build a React or Vue project, but you can change them to suit your needs (e.g. ng build for Angular). If your project is pure HTML/CSS/JS and does not need to be compiled, you can remove this step entirely.
This step specifies the node cache, which caches dependencies to reduce the run times of subsequent builds. It also specifies that everything in the /build directory should be passed to the next step. You can change the folder name to match your project’s distributable folder.
      - step:
          name: Deploy to S3
          deployment: Production
          clone:
            enabled: false
          script:
            - pipe: atlassian/aws-s3-deploy:0.4.4
              variables:
                AWS_ACCESS_KEY_ID: $AWS_ACCESS_KEY_ID
                AWS_SECRET_ACCESS_KEY: $AWS_SECRET_ACCESS_KEY
                AWS_DEFAULT_REGION: $AWS_DEFAULT_REGION
                S3_BUCKET: $AWS_S3_BUCKET
                LOCAL_PATH: 'build'
This step uses Atlassian's aws-s3-deploy pipe, which handles our S3 deployment for us. It synchronizes all files from the build directory, which is passed in from the previous step’s artifacts. (If you removed the previous step to accommodate a plain HTML/CSS/JS project, you can replace this with LOCAL_PATH: '.' to synchronize your entire repository.)
Pipelines are stored as .yml files in your repository root. Since the contents of your pipeline files are visible to everyone who has access to your repository, you should avoid storing your AWS secret keys in this file directly. The example above uses environment variables to store your AWS information, which can be set in the Add variables pane on the right-hand side. You will need to define the AWS_ACCESS_KEY_ID, AWS_SECRET_ACCESS_KEY, AWS_DEFAULT_REGION, and AWS_S3_BUCKET variables with the appropriate information. It is strongly recommended to leave the Secured box checked for these variables to ensure that they remain private.
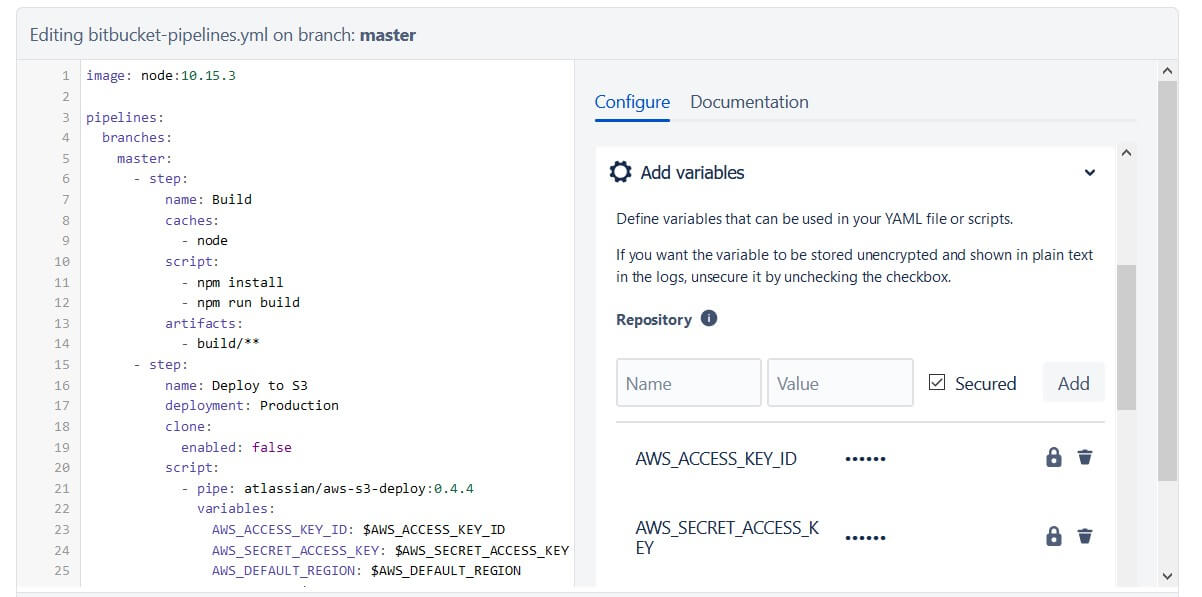
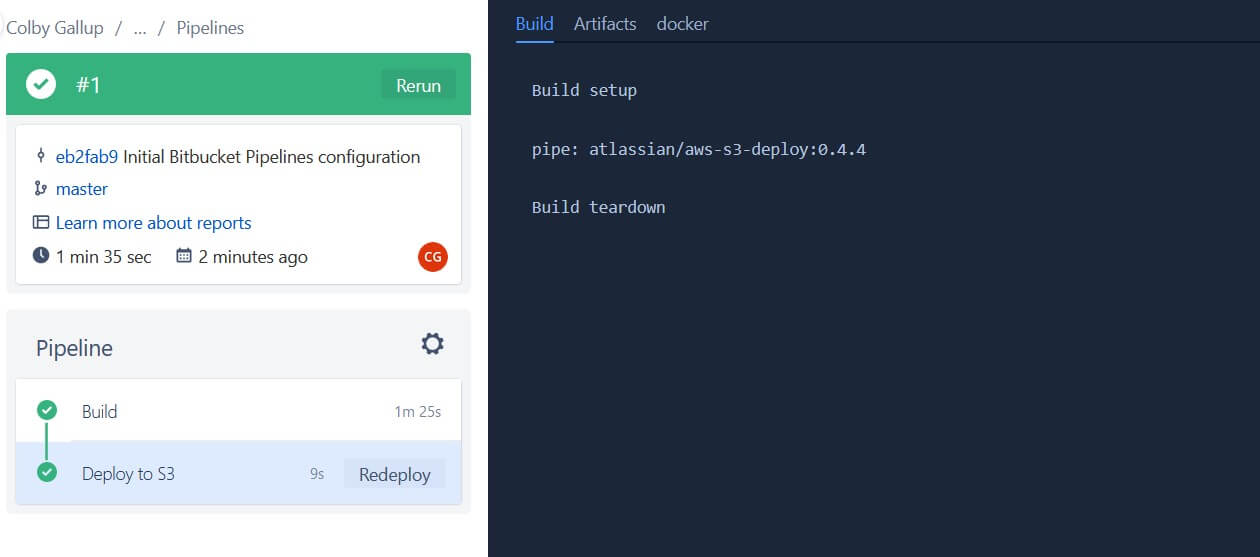
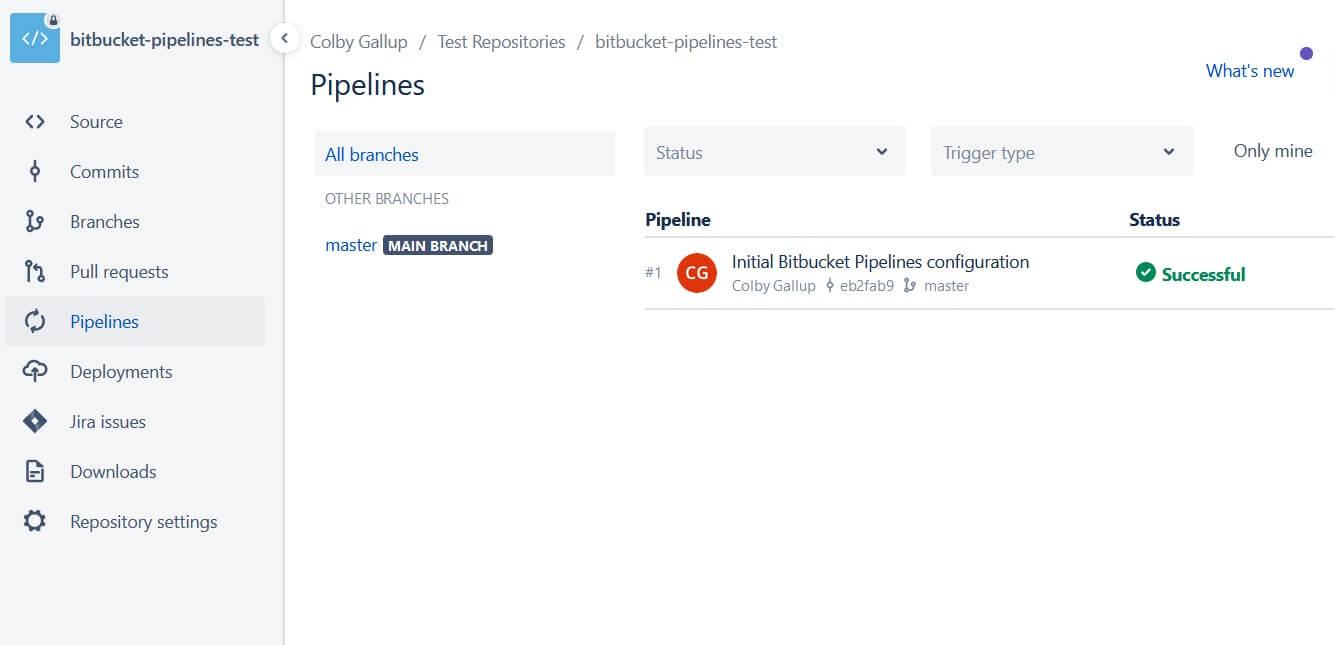
After setting up your pipeline, you should be able to see it run on the next page. Instead of showing a template selector, the Pipelines page will now show a dashboard for your current and previous pipeline runs. If you would like to use the fancy pipeline editor in the future, navigate to bitbucket-pipelines.yml in the Source page and click Edit in the top-right corner.
Conclusion
In this article, we discussed three options for continually deploying content to S3: Git server hooks, GitHub Actions, and Bitbucket Pipelines.
If you're interested in learning more about Amazon Web Services, check out The Most Complete Guide to Amazon Web Services from Beginner to Advanced Level.
We hope you enjoyed this post! Feel free to shoot me an email at jacob@initialcommit.io with any questions or comments.
Final Notes
Recommended product: Coding Essentials Guidebook for Developers
